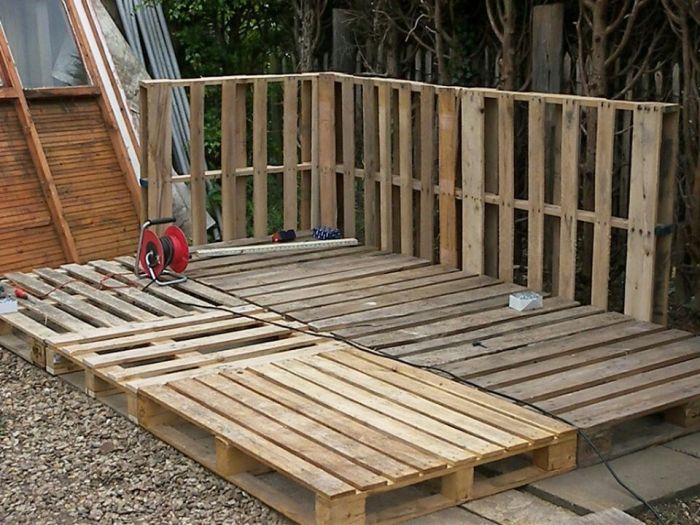
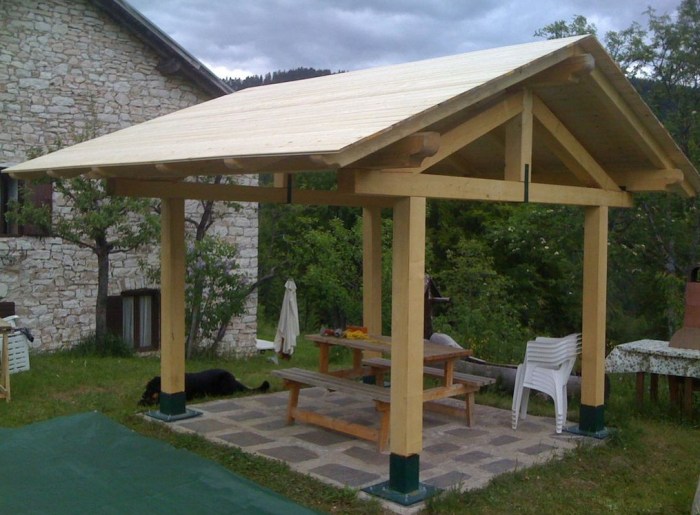
DIY shed base: Building a sturdy foundation for your shed is crucial for its longevity and stability. A well-constructed base protects your shed from moisture, prevents sinking, and ensures it can withstand the elements. This guide explores various DIY shed base options, from concrete to wooden frames, outlining the steps involved in each process.
Whether you’re a seasoned DIYer or a beginner, this comprehensive guide will equip you with the knowledge and techniques to create a reliable shed base that will stand the test of time. We’ll delve into planning, preparation, construction, and maintenance, providing practical advice and tips to ensure a successful project.
Introduction to DIY Shed Bases
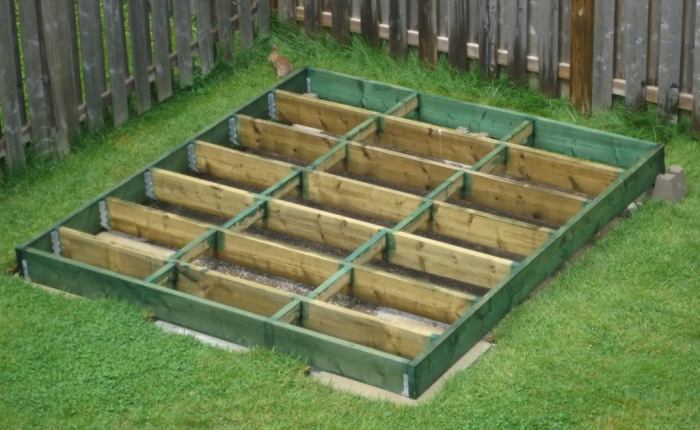
A sturdy shed base is crucial for a long-lasting and stable shed. It provides a solid foundation, protects the shed from moisture, and prevents sinking or warping. Without a proper base, your shed could become unstable, susceptible to damage from water, and ultimately, shorten its lifespan.
There are many different types of DIY shed bases that you can choose from, each with its own advantages and disadvantages. The best option for you will depend on your budget, the size and weight of your shed, and the type of soil you have.
Types of DIY Shed Bases
The following are some common types of DIY shed bases:
- Concrete Slab: This is a strong and durable option that is suitable for all types of sheds. It is also relatively easy to build, although it can be time-consuming and requires some specialized equipment.
- Concrete Blocks: This is a less expensive option than a concrete slab, and it can be built quickly. However, it is not as strong or durable as a concrete slab.
- Timber Sleepers: This is a budget-friendly option that is easy to install. However, timber sleepers are susceptible to rot and decay, so they are not suitable for all climates.
- Paving Slabs: This is a quick and easy option that can be used to create a level base for your shed. However, it is not as strong or durable as other types of bases.
Benefits of Building a DIY Shed Base
Building your own shed base can be a rewarding experience, offering numerous advantages:
- Cost-effective: Building your own shed base can save you money compared to hiring a professional.
- Customization: You can customize the size and shape of your shed base to fit your specific needs.
- Increased Control: You have complete control over the materials and construction methods used, ensuring a high-quality base.
- Sense of Accomplishment: Building a shed base yourself can provide a sense of accomplishment and pride in your DIY skills.
Planning and Preparation
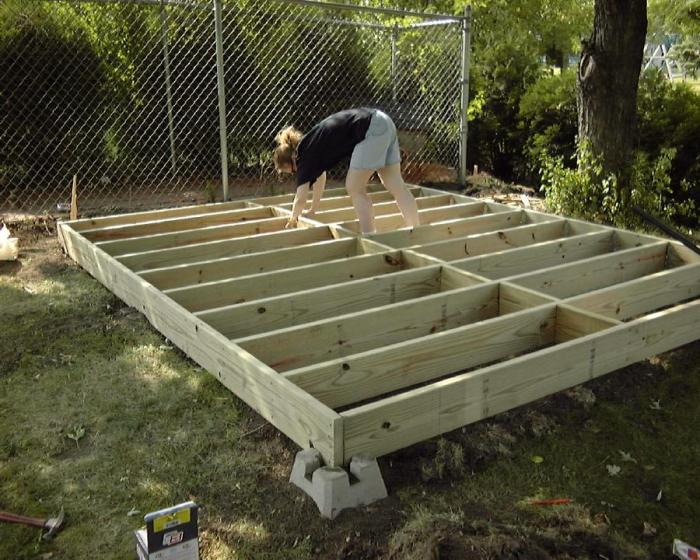
A well-planned shed base is crucial for ensuring your shed’s stability and longevity. It needs to be strong enough to support the weight of the shed and withstand any potential environmental factors like wind and rain. Careful planning and preparation are essential for a successful shed base construction project.
Designing the Shed Base Plan
The shed base plan should be designed based on the size and weight of the shed. Consider the following factors:
- Shed Size: The base should be slightly larger than the shed’s footprint to provide adequate support and prevent overhang.
- Shed Weight: Determine the shed’s weight, including the materials used for its construction and any items you plan to store inside.
- Soil Conditions: Evaluate the soil type and its ability to support the load. If the soil is unstable, you may need to consider additional support measures like concrete piers or a reinforced base.
- Local Building Codes: Check with your local building department for any regulations or requirements for shed base construction.
Materials Needed for the Shed Base Construction, Diy shed base
The specific materials needed will depend on the type of base you choose. However, some common materials include:
- Concrete: A popular choice for shed bases, providing a solid and durable foundation.
- Gravel: Used as a drainage layer beneath the concrete to prevent water buildup.
- Bricks or Blocks: Can be used to create a raised base for the shed.
- Timber: Often used for constructing a wooden frame for the base.
- Pressure-Treated Wood: Resistant to rot and decay, suitable for use in contact with the ground.
- Hardware: Includes screws, nails, anchors, and other fasteners needed for assembling the base.
Tools Needed for Building the Shed Base
You will need a variety of tools for constructing your shed base. Some essential tools include:
- Shovel: For digging and preparing the base area.
- Measuring Tape: To accurately measure the dimensions of the base.
- Level: To ensure the base is level and even.
- Hammer: For driving nails and securing the base.
- Screwdriver: For fastening screws and securing the base.
- Circular Saw: For cutting timber to size.
- Concrete Mixer: For mixing concrete for the base.
- Wheelbarrow: For transporting materials and concrete.
- Safety Gear: Always wear safety glasses, gloves, and appropriate footwear when working on a construction project.
Wooden Base Construction
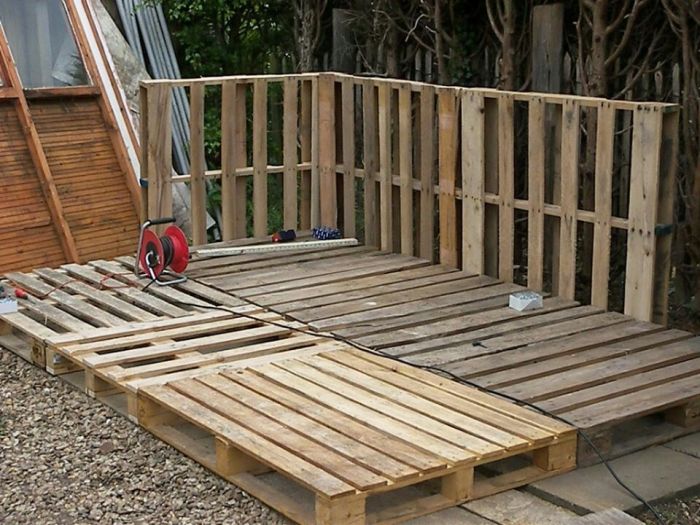
A wooden base is a common and relatively simple option for a shed. It offers flexibility and affordability, and with the right materials and construction techniques, it can provide a solid foundation for your shed.
To build a wooden base, you will need treated lumber. This type of lumber is specially treated to resist rot, decay, and insect damage, making it ideal for outdoor applications. When choosing treated lumber, look for pressure-treated wood, which is impregnated with preservatives under pressure. It’s essential to use pressure-treated lumber for the base as it will be in direct contact with the ground.
Choosing and Preparing Lumber
When selecting treated lumber, consider the size and weight of your shed. Thicker lumber will provide a stronger base.
Before constructing the frame, it’s crucial to prepare the lumber. This involves:
- Cutting the lumber to size: Measure the dimensions of your shed and cut the lumber accordingly. You will need four pieces for the outer frame and several shorter pieces for the interior supports. Ensure you have enough lumber for the entire base, including any additional supports required for the shed’s size and weight.
- Treating the ends: To prevent moisture from seeping into the cut ends, apply a wood sealant or paint. This helps protect the lumber from rot and decay.
- Pre-drilling holes: Before attaching the pieces together, pre-drill holes slightly smaller than the screws you will use. This prevents the wood from splitting when screwing.
Constructing the Wooden Frame
Once the lumber is prepared, you can begin assembling the wooden frame:
- Laying the foundation: Begin by laying out the four pieces of lumber that will form the outer frame of the base. Use a level to ensure the frame is perfectly level and square.
- Adding interior supports: Install additional pieces of lumber for interior supports, ensuring they are positioned evenly and securely. These supports will help distribute the weight of the shed and prevent sagging.
- Securing the frame: Secure the frame together using screws or bolts. Ensure the screws or bolts are long enough to penetrate both pieces of lumber and provide a strong connection.
Attaching the Wooden Base to the Ground
After assembling the wooden frame, you need to attach it securely to the ground.
There are a few common methods for attaching a wooden base to the ground:
- Concrete piers: This method involves pouring concrete piers into the ground and then attaching the wooden frame to the piers. Concrete piers provide a strong and durable foundation.
- Concrete footings: Similar to concrete piers, concrete footings are poured into the ground and provide a solid base for the wooden frame.
- Pressure-treated posts: This method involves driving pressure-treated posts into the ground and then attaching the wooden frame to the posts. This is a more cost-effective option compared to concrete piers or footings.
- Ground anchors: Ground anchors are metal brackets that are driven into the ground and then attached to the wooden frame. This is a quick and easy way to secure the base, but it may not be as durable as other methods.
The best method for attaching the wooden base to the ground depends on factors such as the soil conditions, the size and weight of the shed, and your budget.
Building a DIY shed base is a rewarding project that allows you to customize your shed foundation to meet your specific needs and budget. By following the steps Artikeld in this guide, you can create a sturdy and durable base that will provide a solid foundation for your shed for years to come. Remember to prioritize safety, plan carefully, and enjoy the process of building something with your own hands.
Building a DIY shed base can be a rewarding project, and you’ll likely want to capture the process with photos. Once you’ve got those snaps, why not create a stunning DIY photo collage to showcase your handiwork? You can then proudly display your finished collage in your new shed, a reminder of your accomplishment.

